블로그 약 Raspberry Pi 4B Gains 5inch Touchscreen LCD Stepbystep Setup Guide

인증
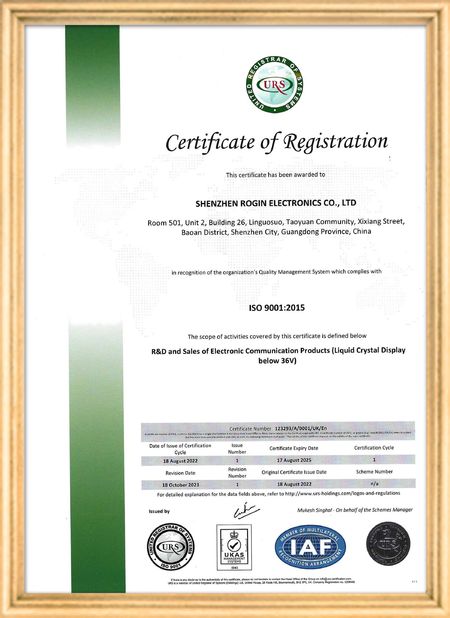
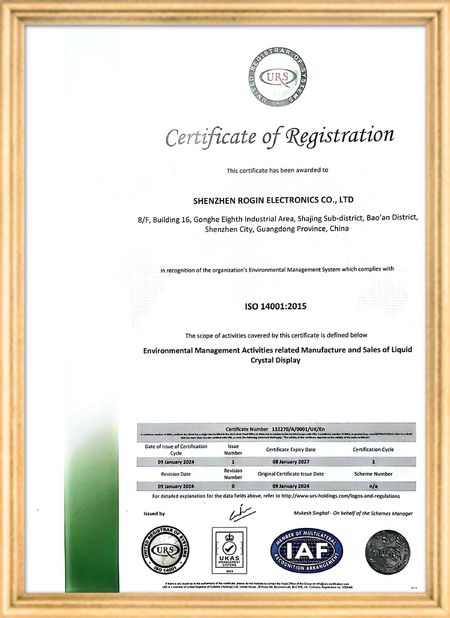
중국 Shenzhen Rogin Electronics Co., Ltd. 인증
고객 검토
이 디스플레이는 전동차에서 완벽하게 작동합니다. 높은 밝기, 반등 방지, 그리고 장기적인 진동에도 안정적입니다. 승객들은 맑은 시야를 좋아합니다.

—— 카스퍼 소렌센

정확한 색상, 빠른 반응, 정상적인 낮은 온도 시작

—— 니콜 베커

쉬운 설치, 넓은 온도 범위, 밝은 환경에서의 뛰어난 가시성. 이 디스플레이는 당사의 모든 산업 장비 요구 사항을 충족합니다.

—— 조반니

이 높은 밝기의 LCD는 산업용 제어판에 적합합니다. 그들은 직접적인 작업실 햇빛 아래에도 결정적으로 맑고 문제없이 24/7 작동합니다..

—— 루카스 뮬러

제가 지금 온라인 채팅 해요
회사 블로그
Raspberry Pi 4B Gains 5inch Touchscreen LCD Stepbystep Setup Guide
에 대한 최신 회사 뉴스 Raspberry Pi 4B Gains 5inch Touchscreen LCD Stepbystep Setup Guide
Have you ever envisioned combining the powerful Raspberry Pi 4B microcomputer with a responsive 5-inch touchscreen LCD to create a customized interactive device? This ambitious project is more achievable than you might think. This guide provides a comprehensive walkthrough for successfully installing and configuring a 5-inch touchscreen LCD on your Raspberry Pi 4B, whether you're a beginner or an experienced maker.
1. Hardware Preparation and Connection

Before beginning the installation, ensure you have all necessary hardware components:

  • Raspberry Pi 4B motherboard
  • Compatible 5-inch touchscreen LCD (verify interface type: HDMI, DSI, or USB)
  • Appropriate power adapter
  • SD card preloaded with Raspberry Pi OS or your preferred operating system
  • Required cables (HDMI, USB, etc.)
  • Mounting screws

The hardware connection process is critical. Depending on your touchscreen's interface type:

  • HDMI interface: Connect using an HDMI cable
  • DSI interface: Carefully insert the ribbon cable into the Pi's DSI port
  • USB touchscreen: Connect via USB cable
2. Software Configuration and Driver Installation

After establishing hardware connections, software configuration becomes essential for touchscreen functionality. Most touchscreens require specific drivers, with installation varying by manufacturer and model.

For HDMI-based touchscreens, basic display functionality often works immediately, but touch capabilities might require additional drivers. DSI interface screens usually need modifications to the Raspberry Pi's configuration file (/boot/config.txt) to enable the interface and load appropriate drivers. USB touchscreens may require Xorg driver installation.

3. Troubleshooting Common Issues

During installation, you might encounter these common challenges:

  • No display: Verify power connections, check HDMI/DSI cable seating, confirm Pi boot status, and try alternative cables or ports.
  • Inaccurate or unresponsive touch: Confirm proper driver installation and loading. Review /boot/config.txt for touchscreen-related configurations. Touch calibration might be necessary using specialized tools.
  • Resolution abnormalities: Check /boot/config.txt for correct resolution settings or update display drivers.
  • Slow or unstable system: Ensure adequate power supply (minimum 3A for Pi 4B) and inspect SD card integrity.
4. Optimization and Application Expansion

After successful installation, explore the touchscreen's potential applications:

  • Information display systems
  • Interactive control panels
  • Portable gaming devices
  • Custom DIY project integration

System settings adjustments can optimize touch responsiveness and display quality for enhanced user experience. This integration opens new possibilities for interactive computing projects using the versatile Raspberry Pi platform.

선술집 시간 : 2026-07-30 00:00:00 >> blog list
연락처 세부 사항
Shenzhen Rogin Electronics Co., Ltd.

담당자: Mr. Kelvin Zhu

전화 번호: +86 15919061504

회사에 직접 문의 보내기 (0 / 3000)